This video tutorial will take you through how to use the JPEGmini resize feature.
If you want to create your own specified presets, see the examples below.
How to create your custom resize presets
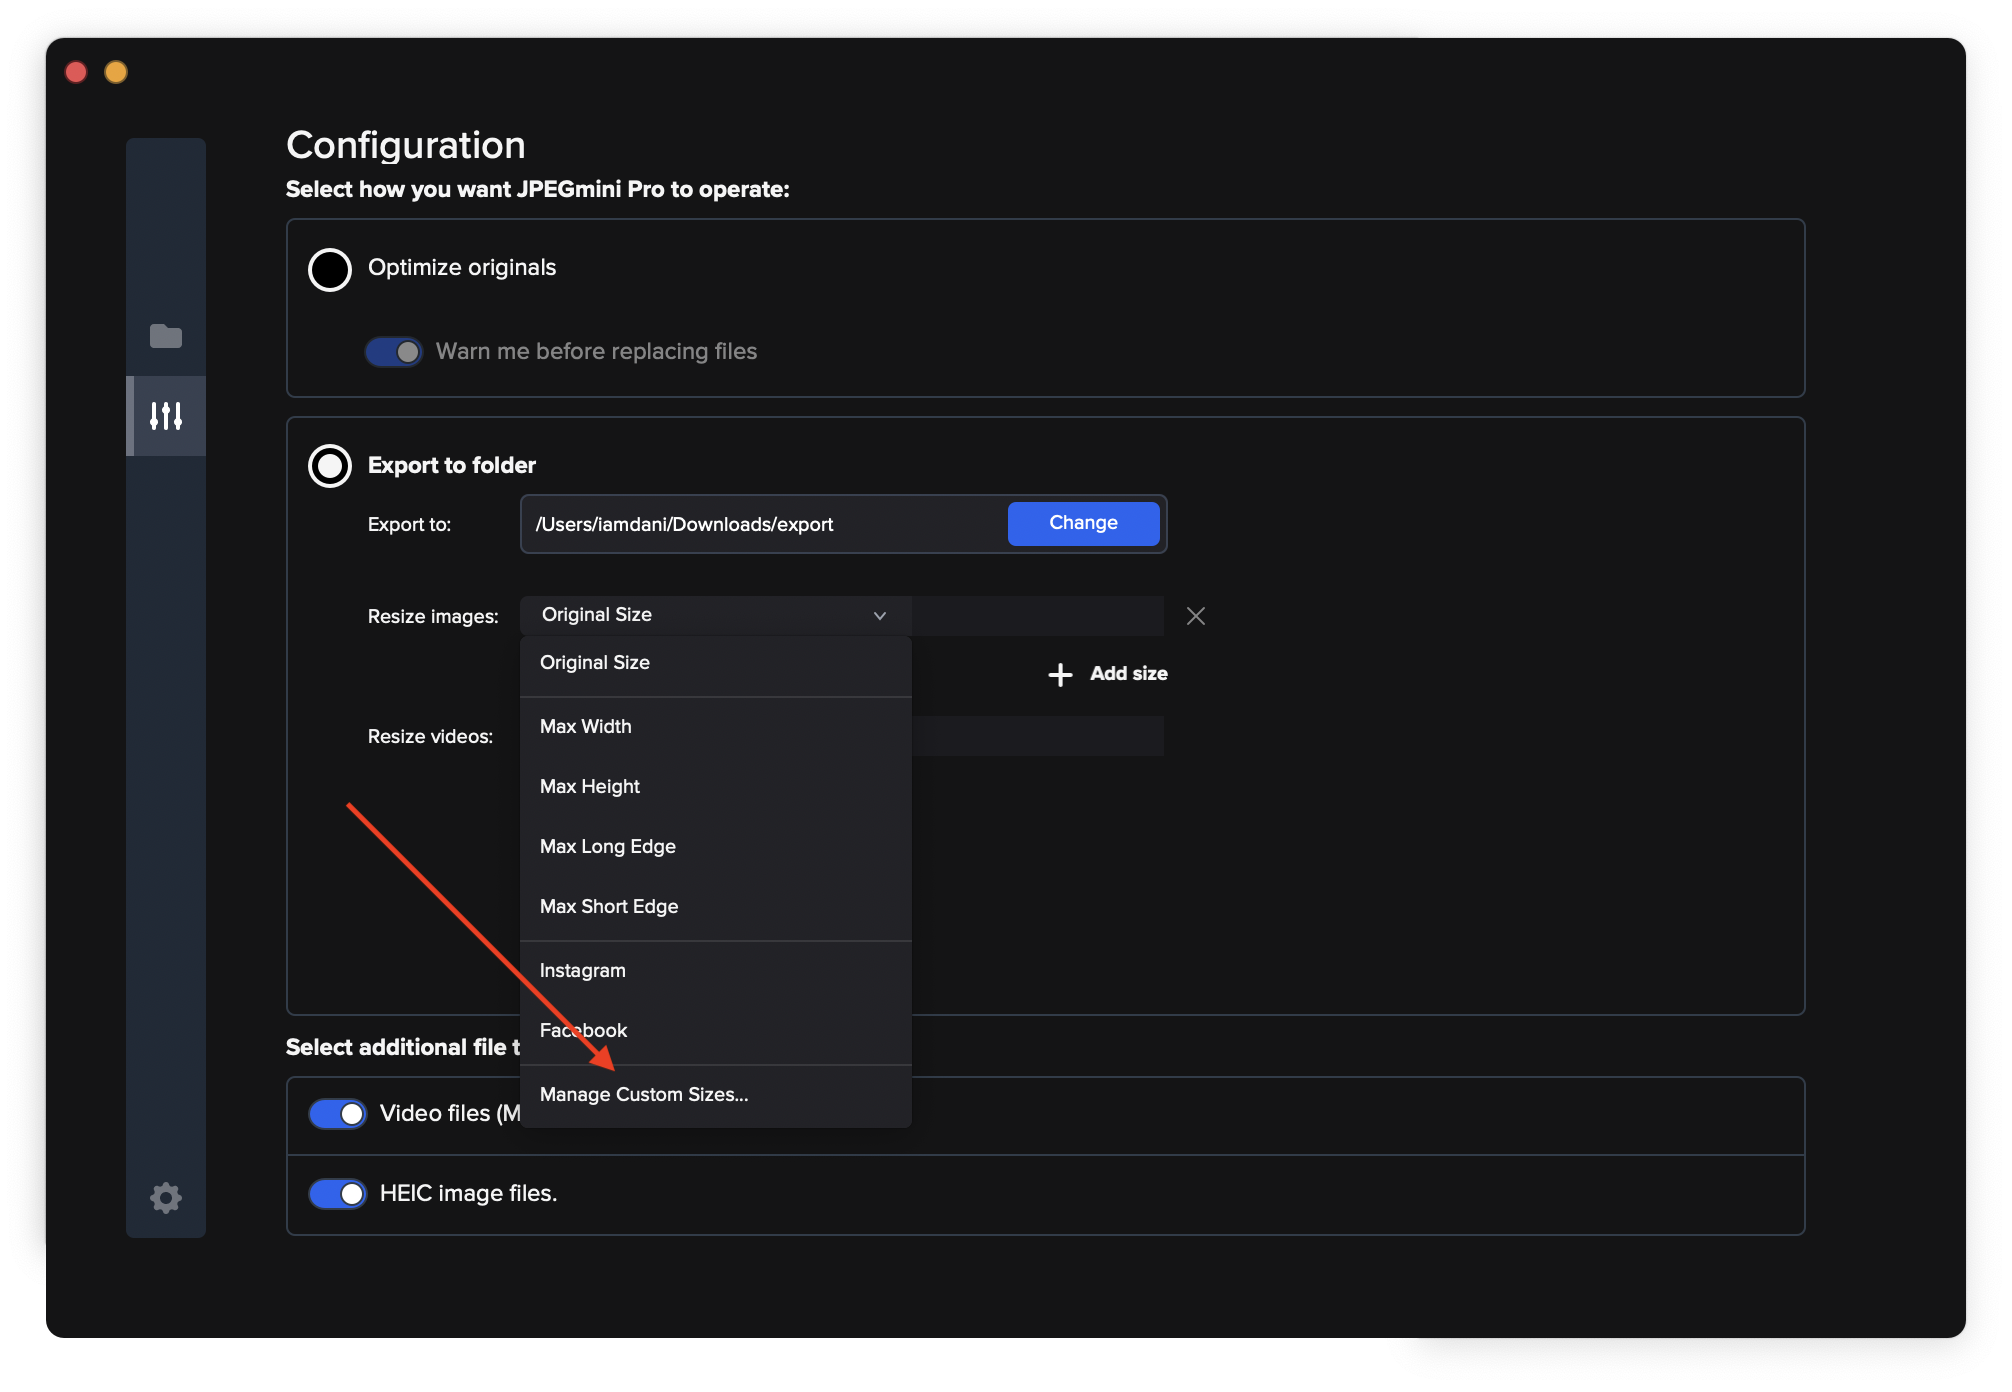
1. After setting the destination folder, click the "Resize" dropdown menu and select "Manage Custom Sizes..":
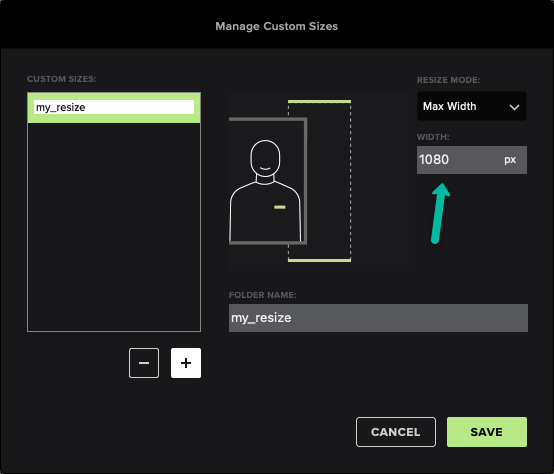
2. In the window that opens give your custom resize a name:
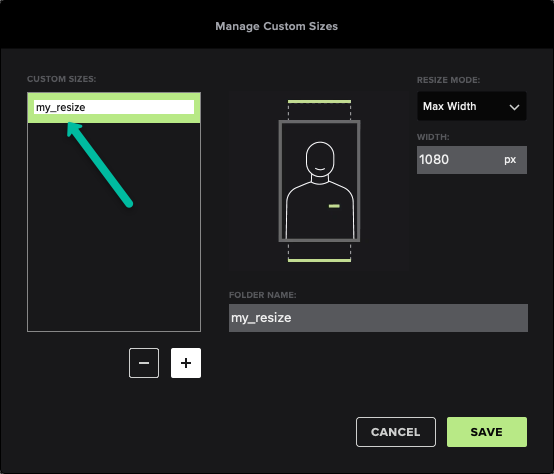
3. Give a name to the folder (which will be the name of the subfolder created in the destination folder seleted previously in step 1) or leave it to be the same as the custom name:

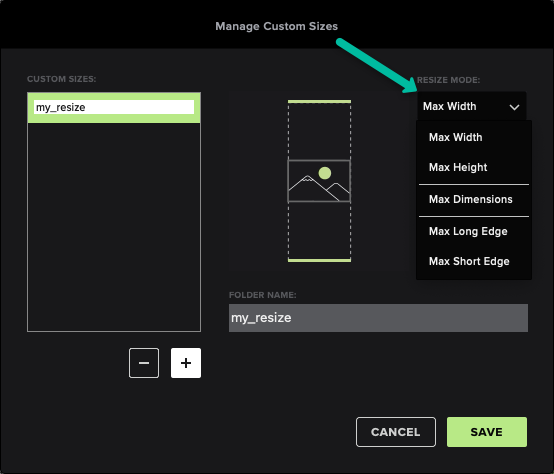
4. In the "RESIZE MODE" dropdown menu select the desired resize and insert the desired value:
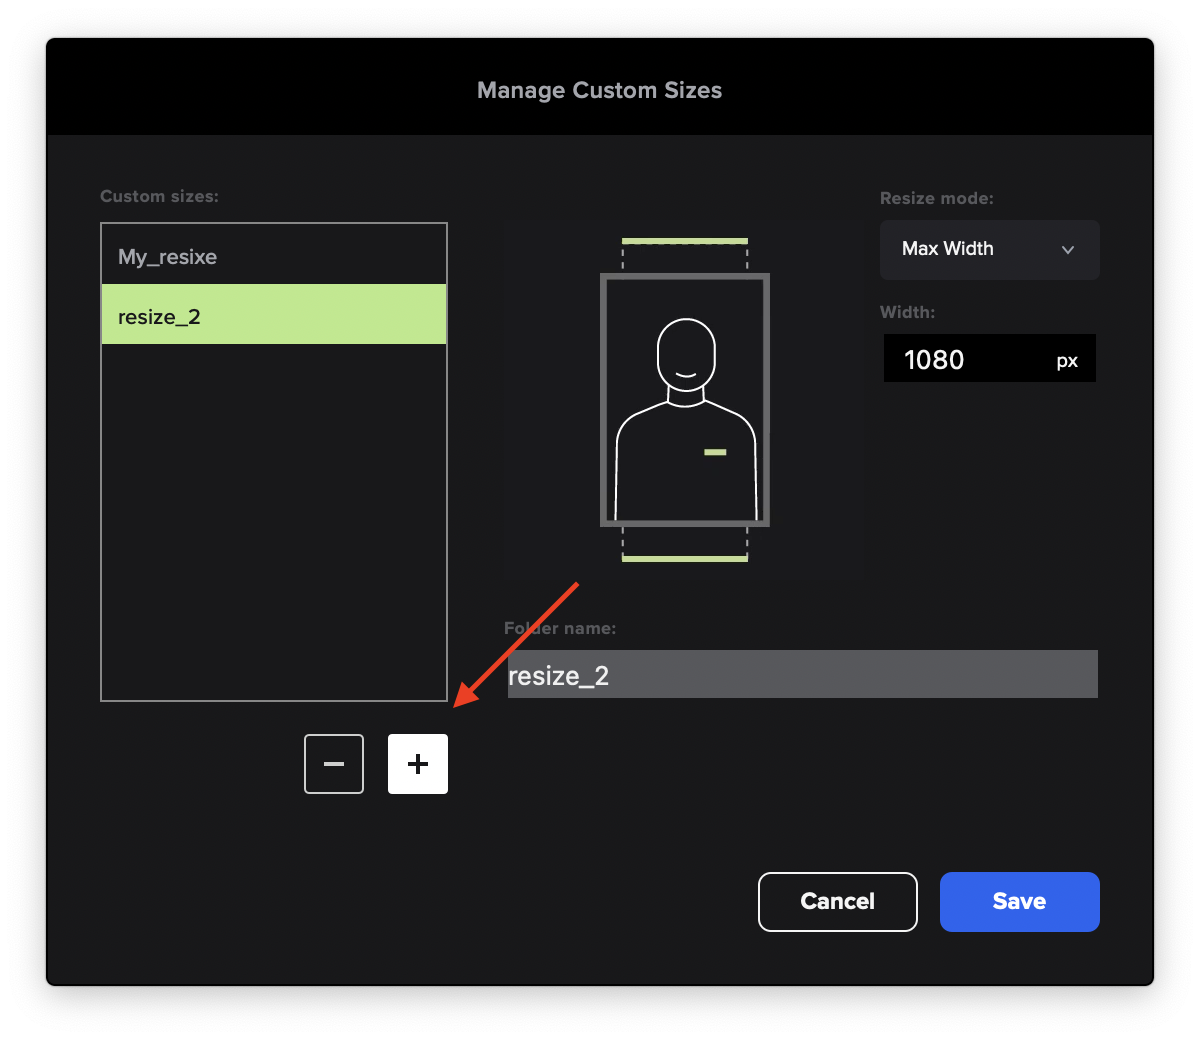
5. If you wish to add another resize, click the (+) button and follow the above steps to create another custom resize:
6. Click "SAVE" for the configuration to take effect.
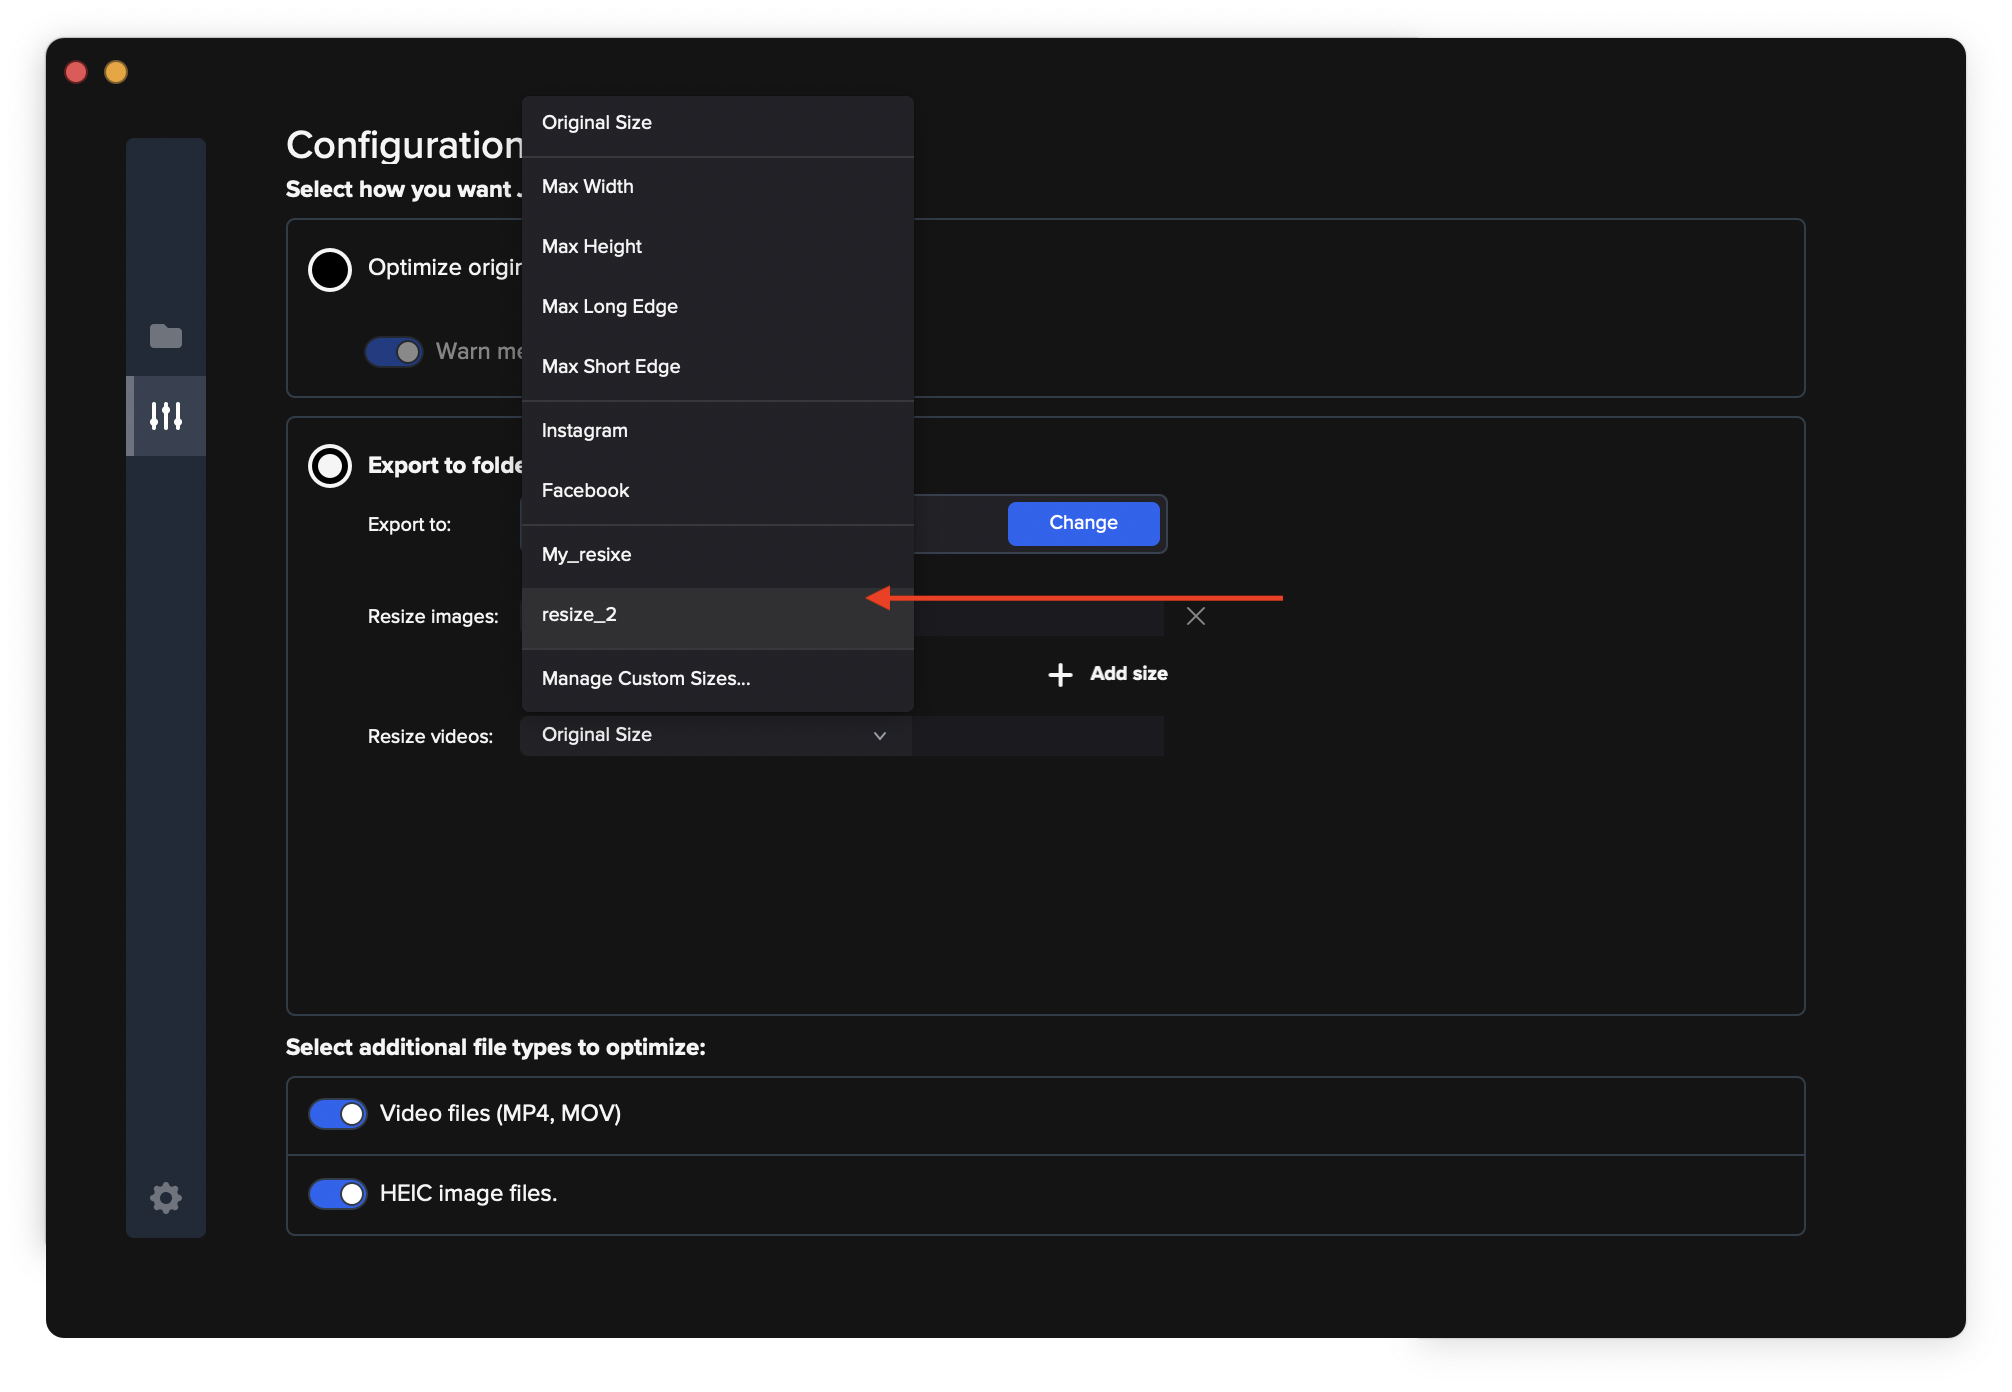
7. The newly created custom resize, now appears in the list of resize options on the main configuration page: