Stage 1: Activate the plugin:
1) After downloading JPEGmini Pro Lightroom Plug-in installer file (dmg), click agree on the windows that is opened.
2) Next the following window will open:
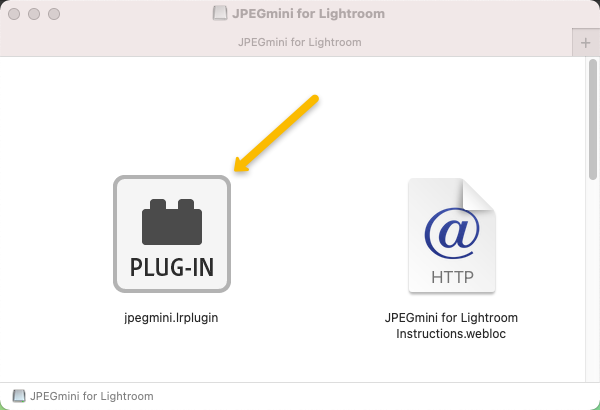
3) Copy the file named "jpegmini.lrplugin" to a location on your local hard drive (for example a folder named jpegmini_lr_plugin on your Desktop or Documents folder). Do not double click this file.
4) Open Lightroom app.
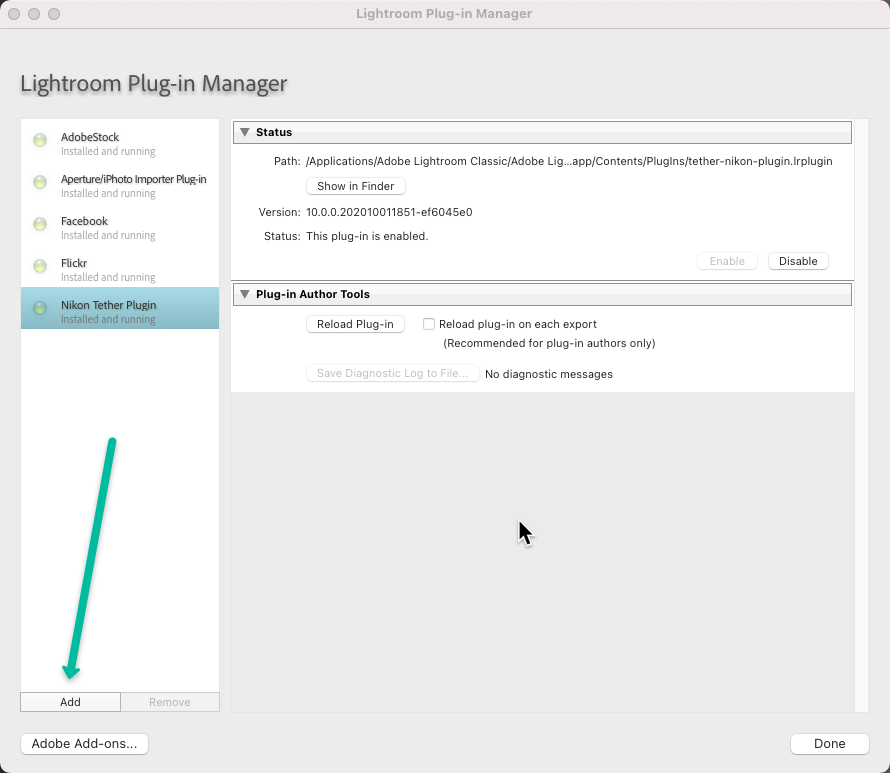
5) Click "File" --> "Plugin Manager".
6) On the Plugin Manager windows click "Add" button to add a new plug-in:
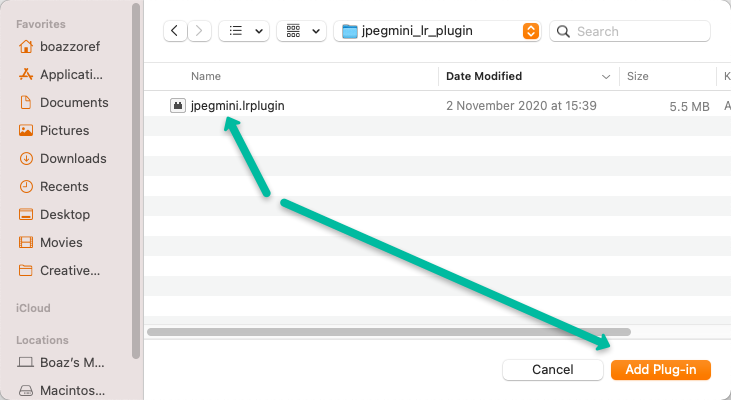
7) Open the location where the plugin was saved and select the file named "jpegmini.lrplugin" and click "Add Plug-in":
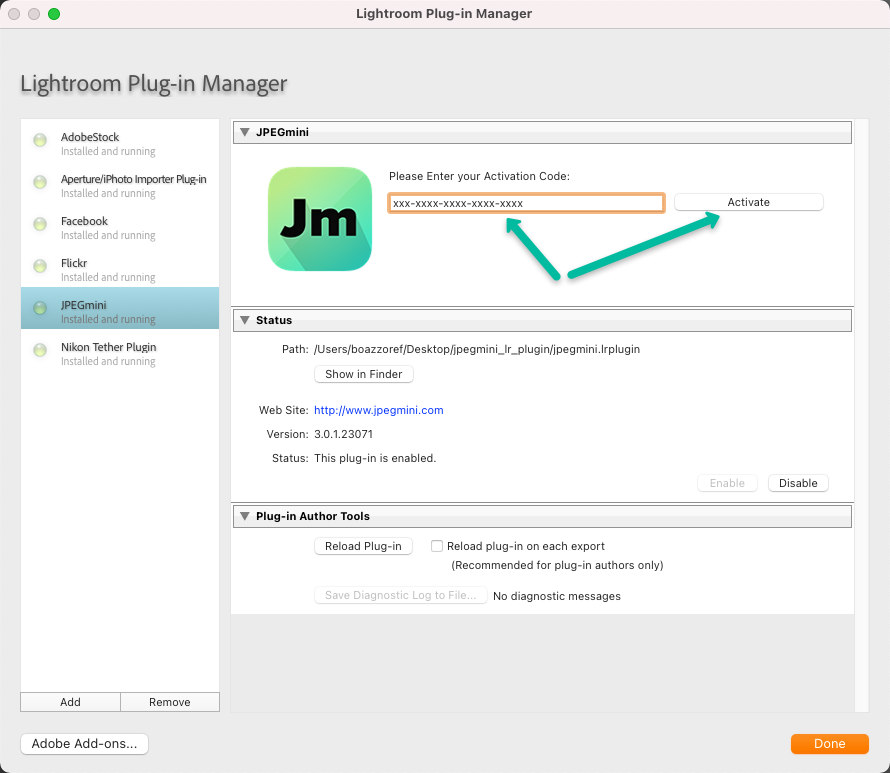
8) Next, on the JPEGmini plugin window, enter your activation code and click "Activate":
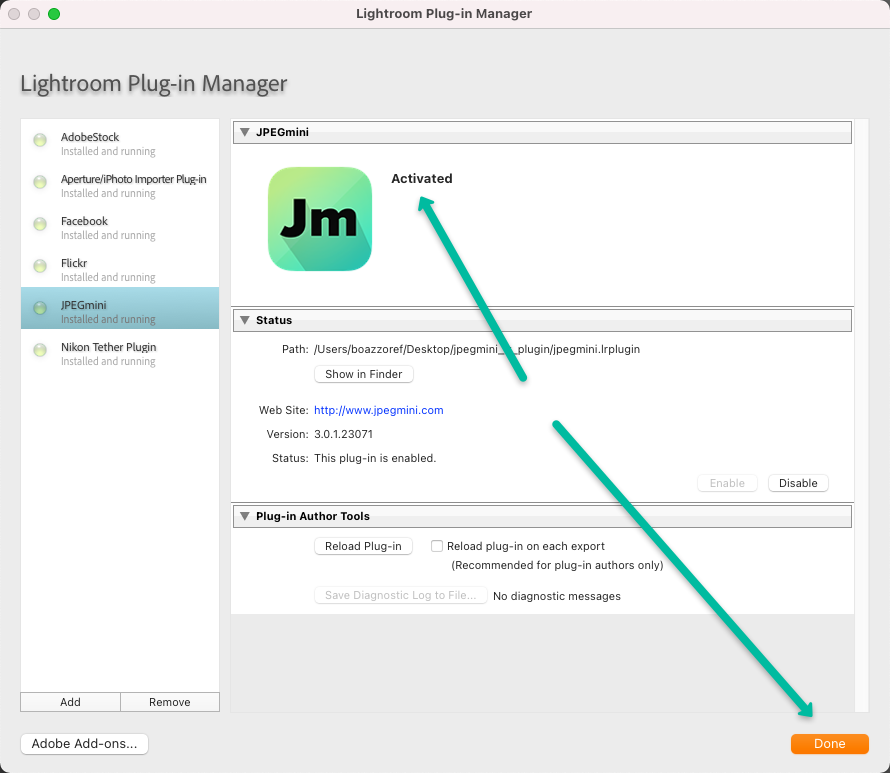
9) When the plugin is shown as "Activated", click "Done":
Stage 2: Insert the plug-in to the export workflow
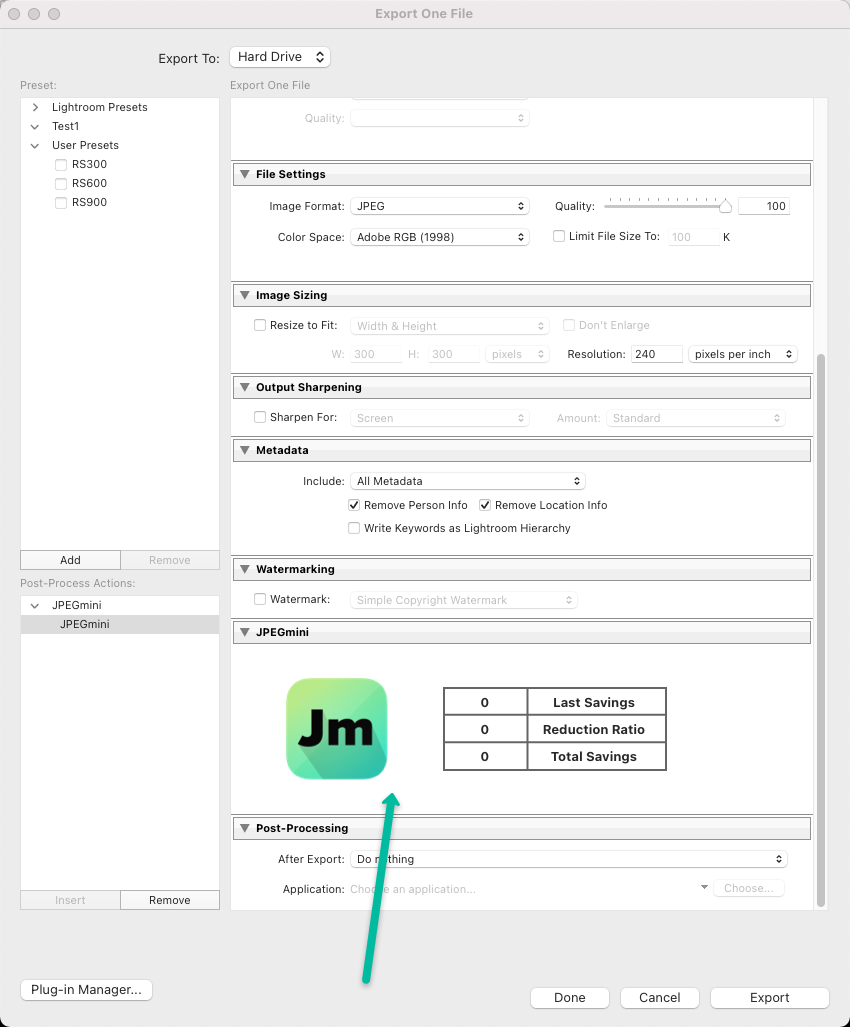
1) Select an image you want to export and click export.
2) In the export window make sure that you export the image as a JPEG format.
3) In the "Post-Process Actions" section, select "JPEGmini", click "Insert" :
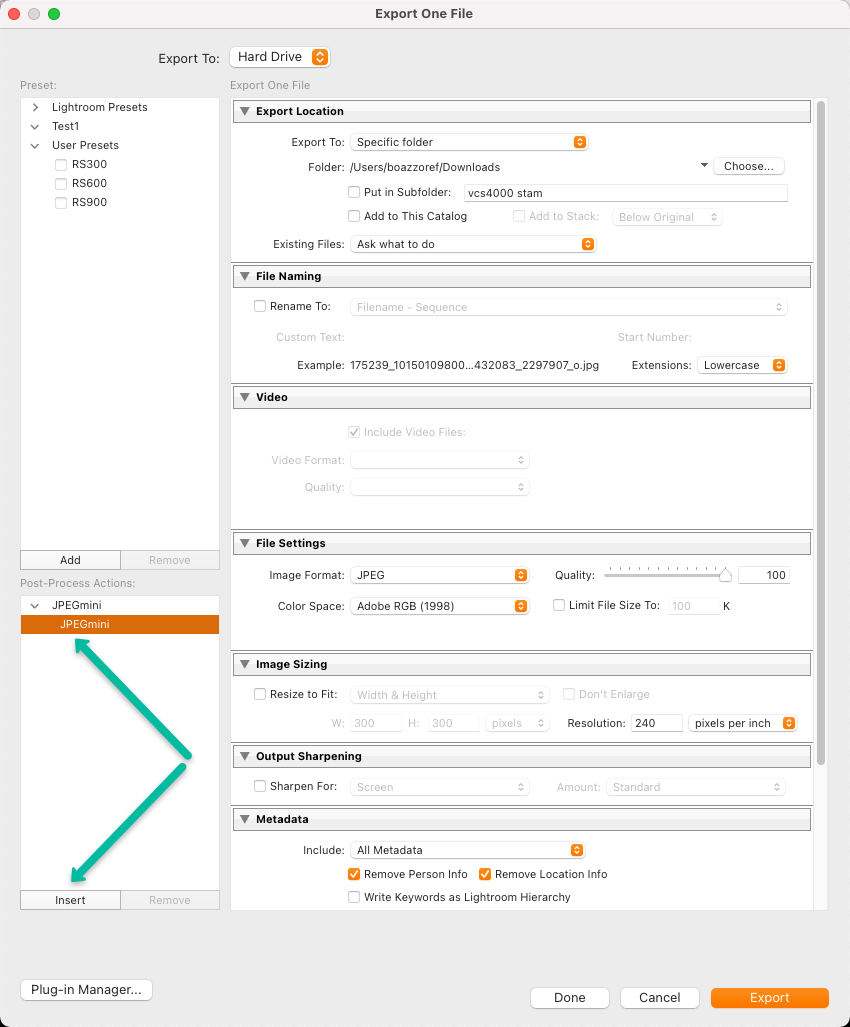
4) Verify that JPEGmini is indeed in the export workflow: