Download the plugin from here
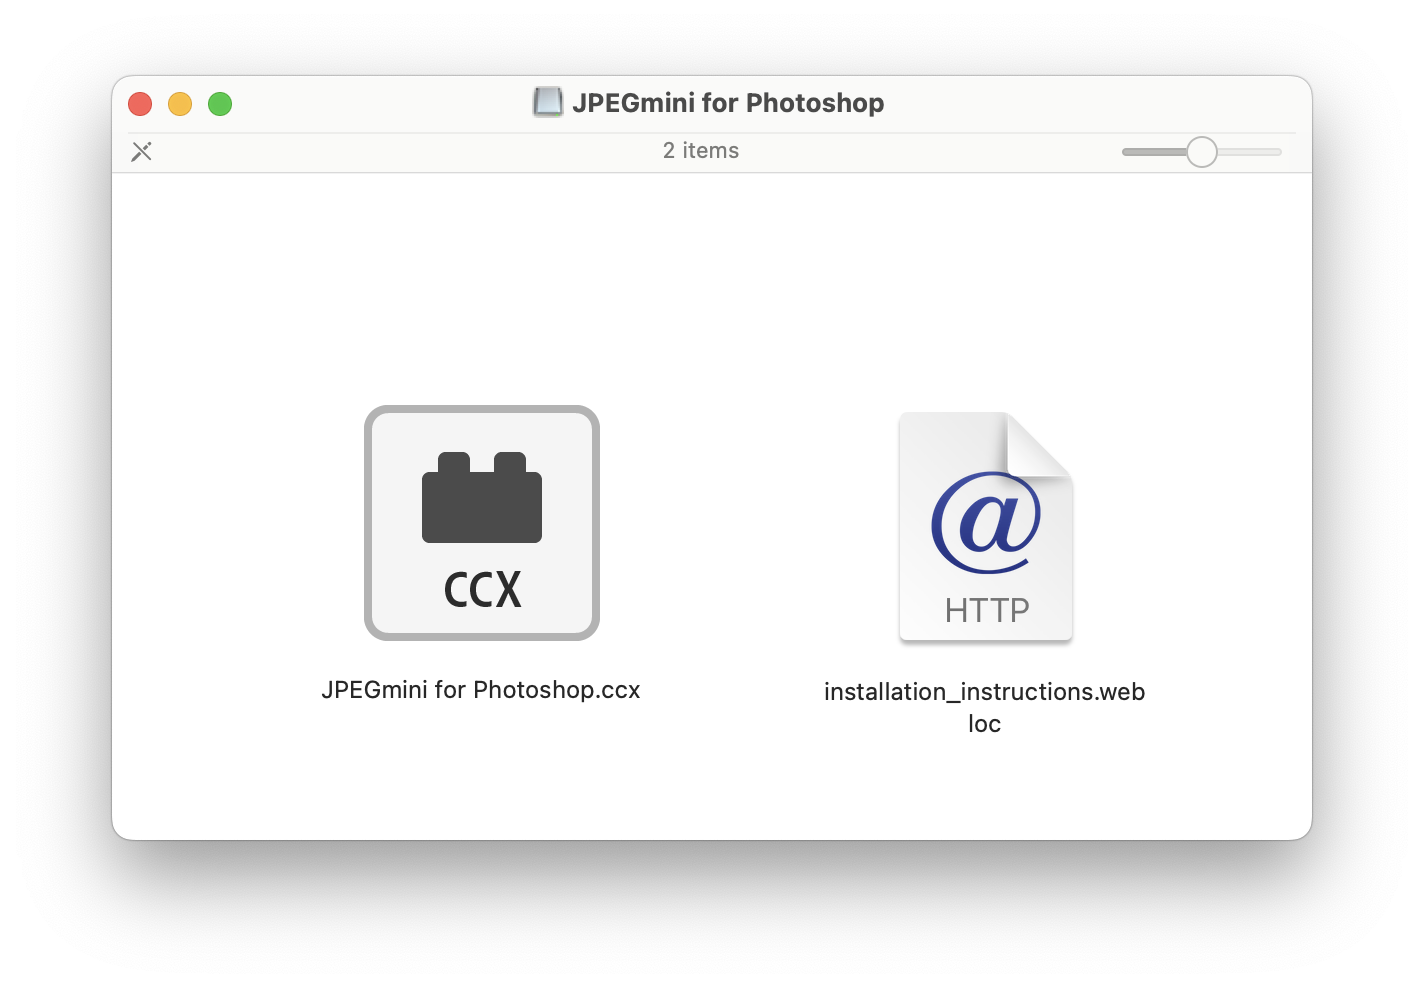
Double-click on "JPEGmini for Photoshop.ccx" to start the plugin installation.
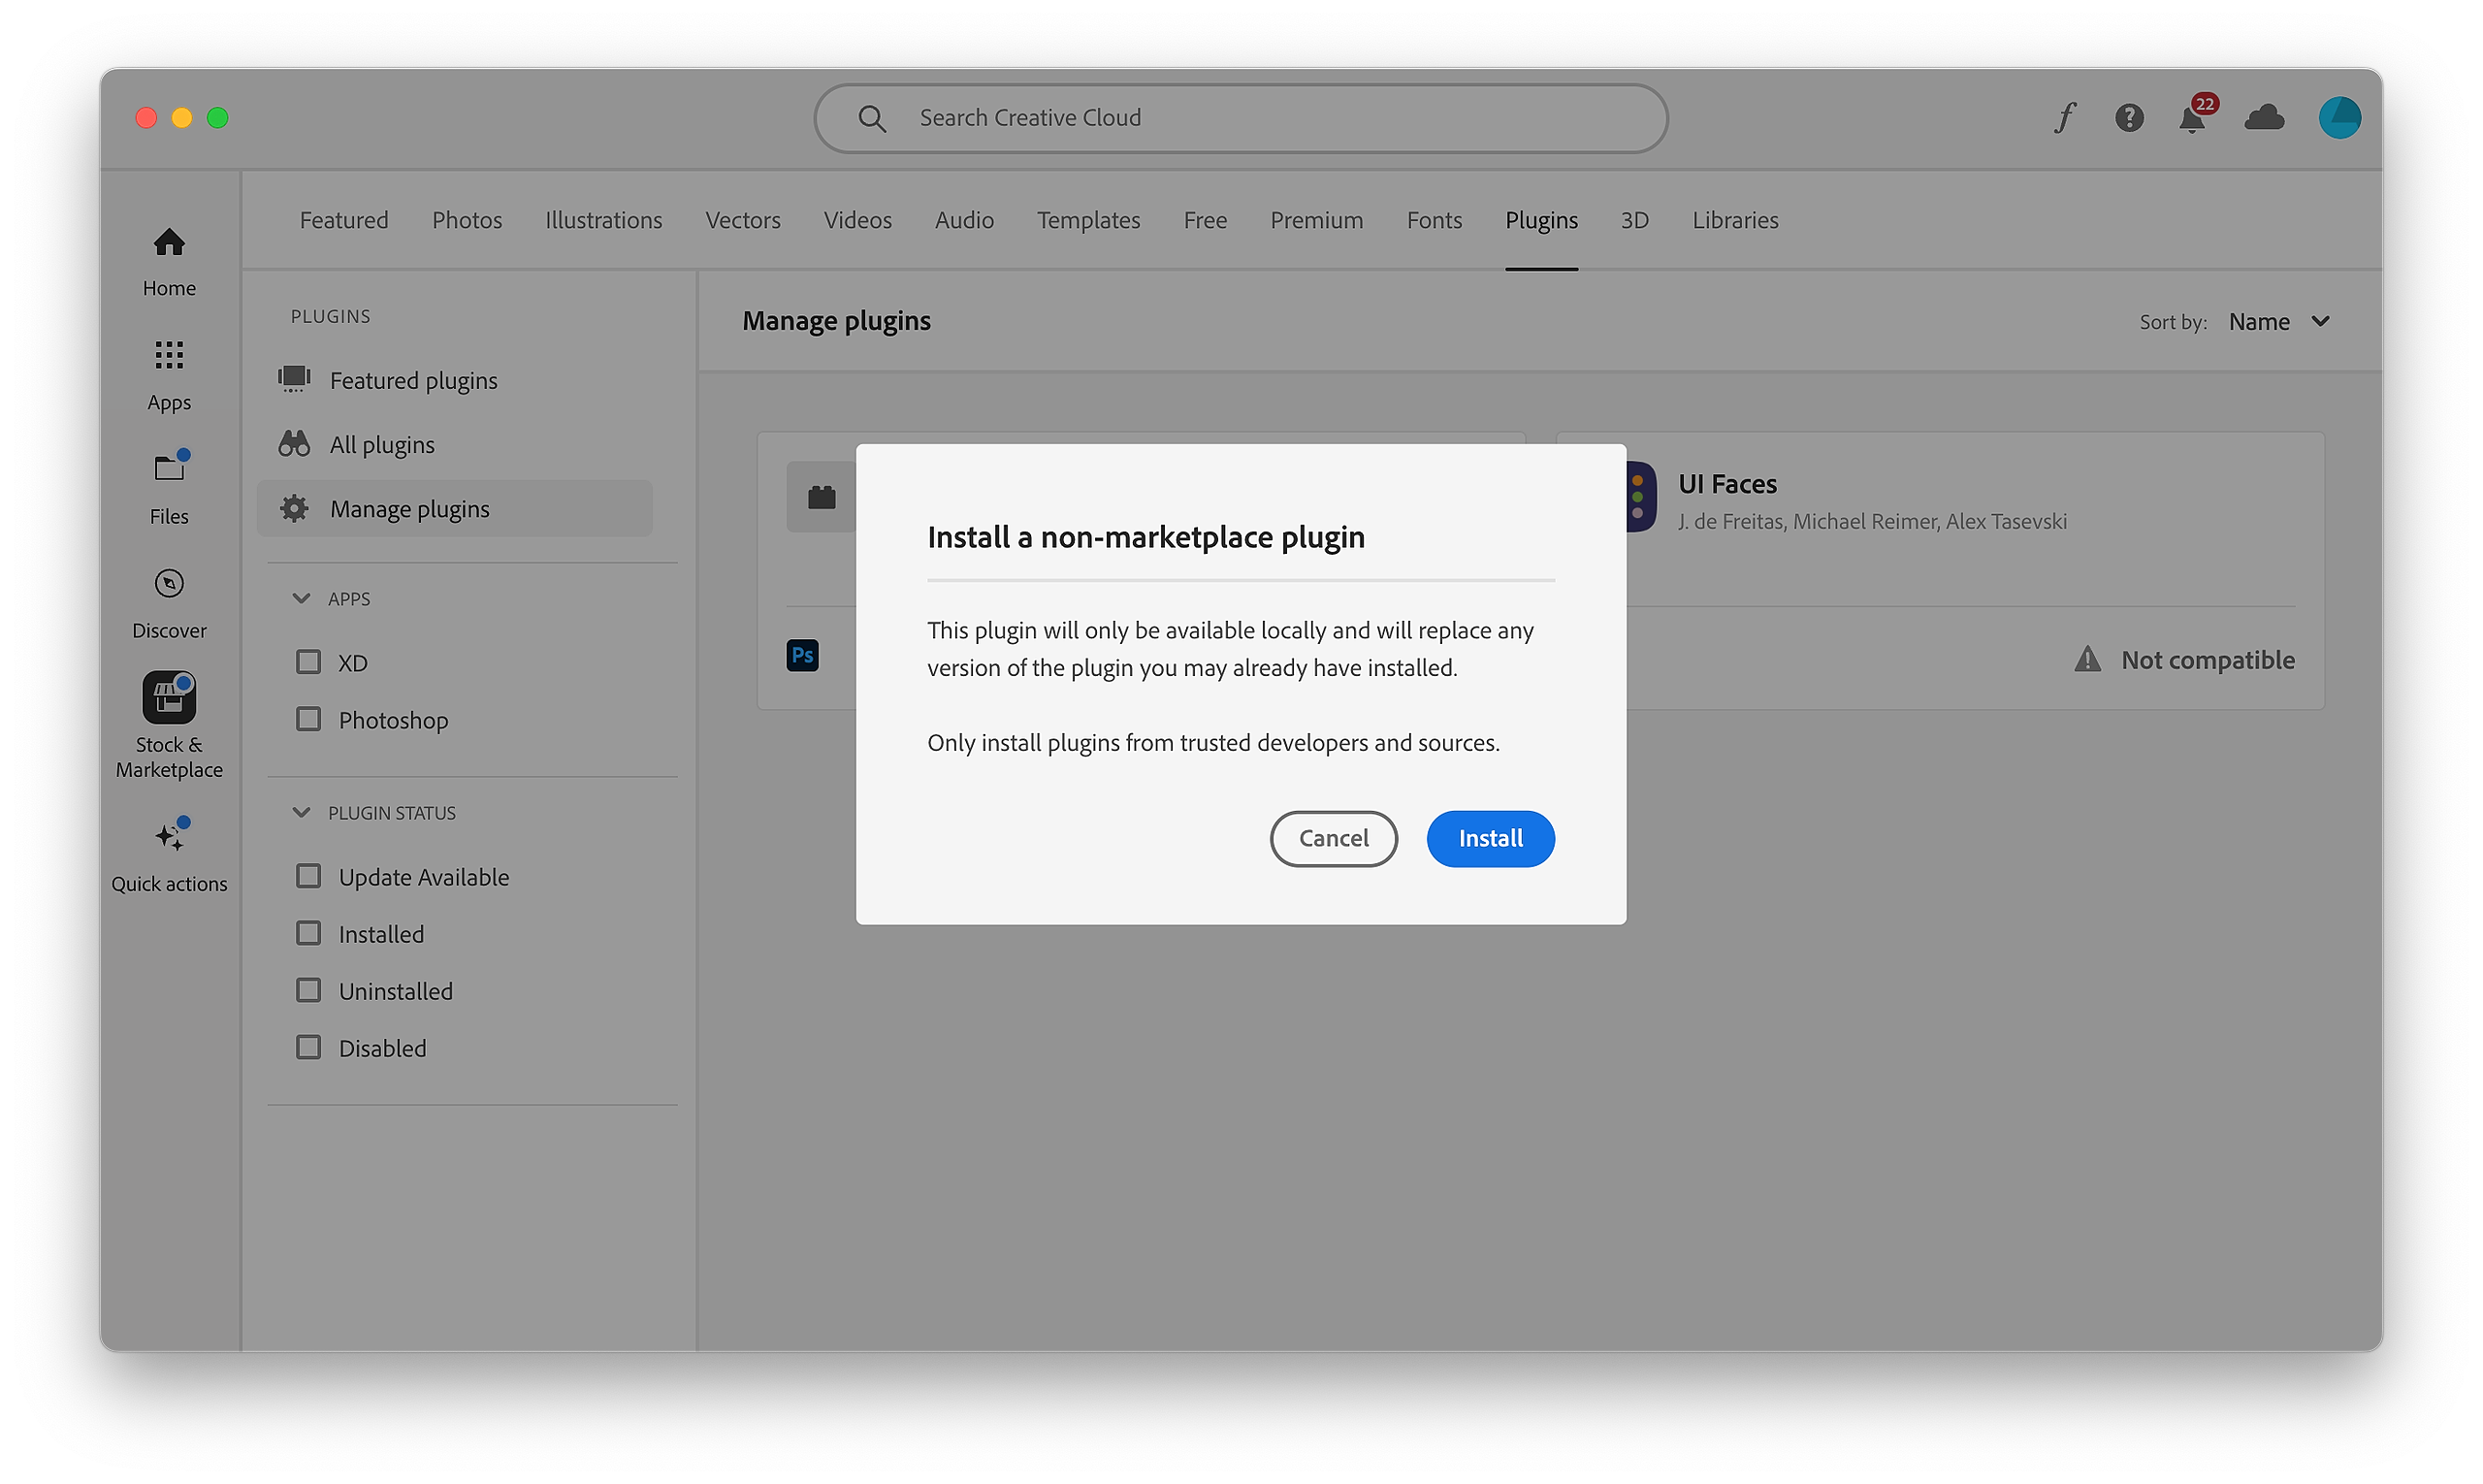
3. Approve the non-marketplace plugin when prompted to continue the installation.
4. Confirm the installation process when asked.
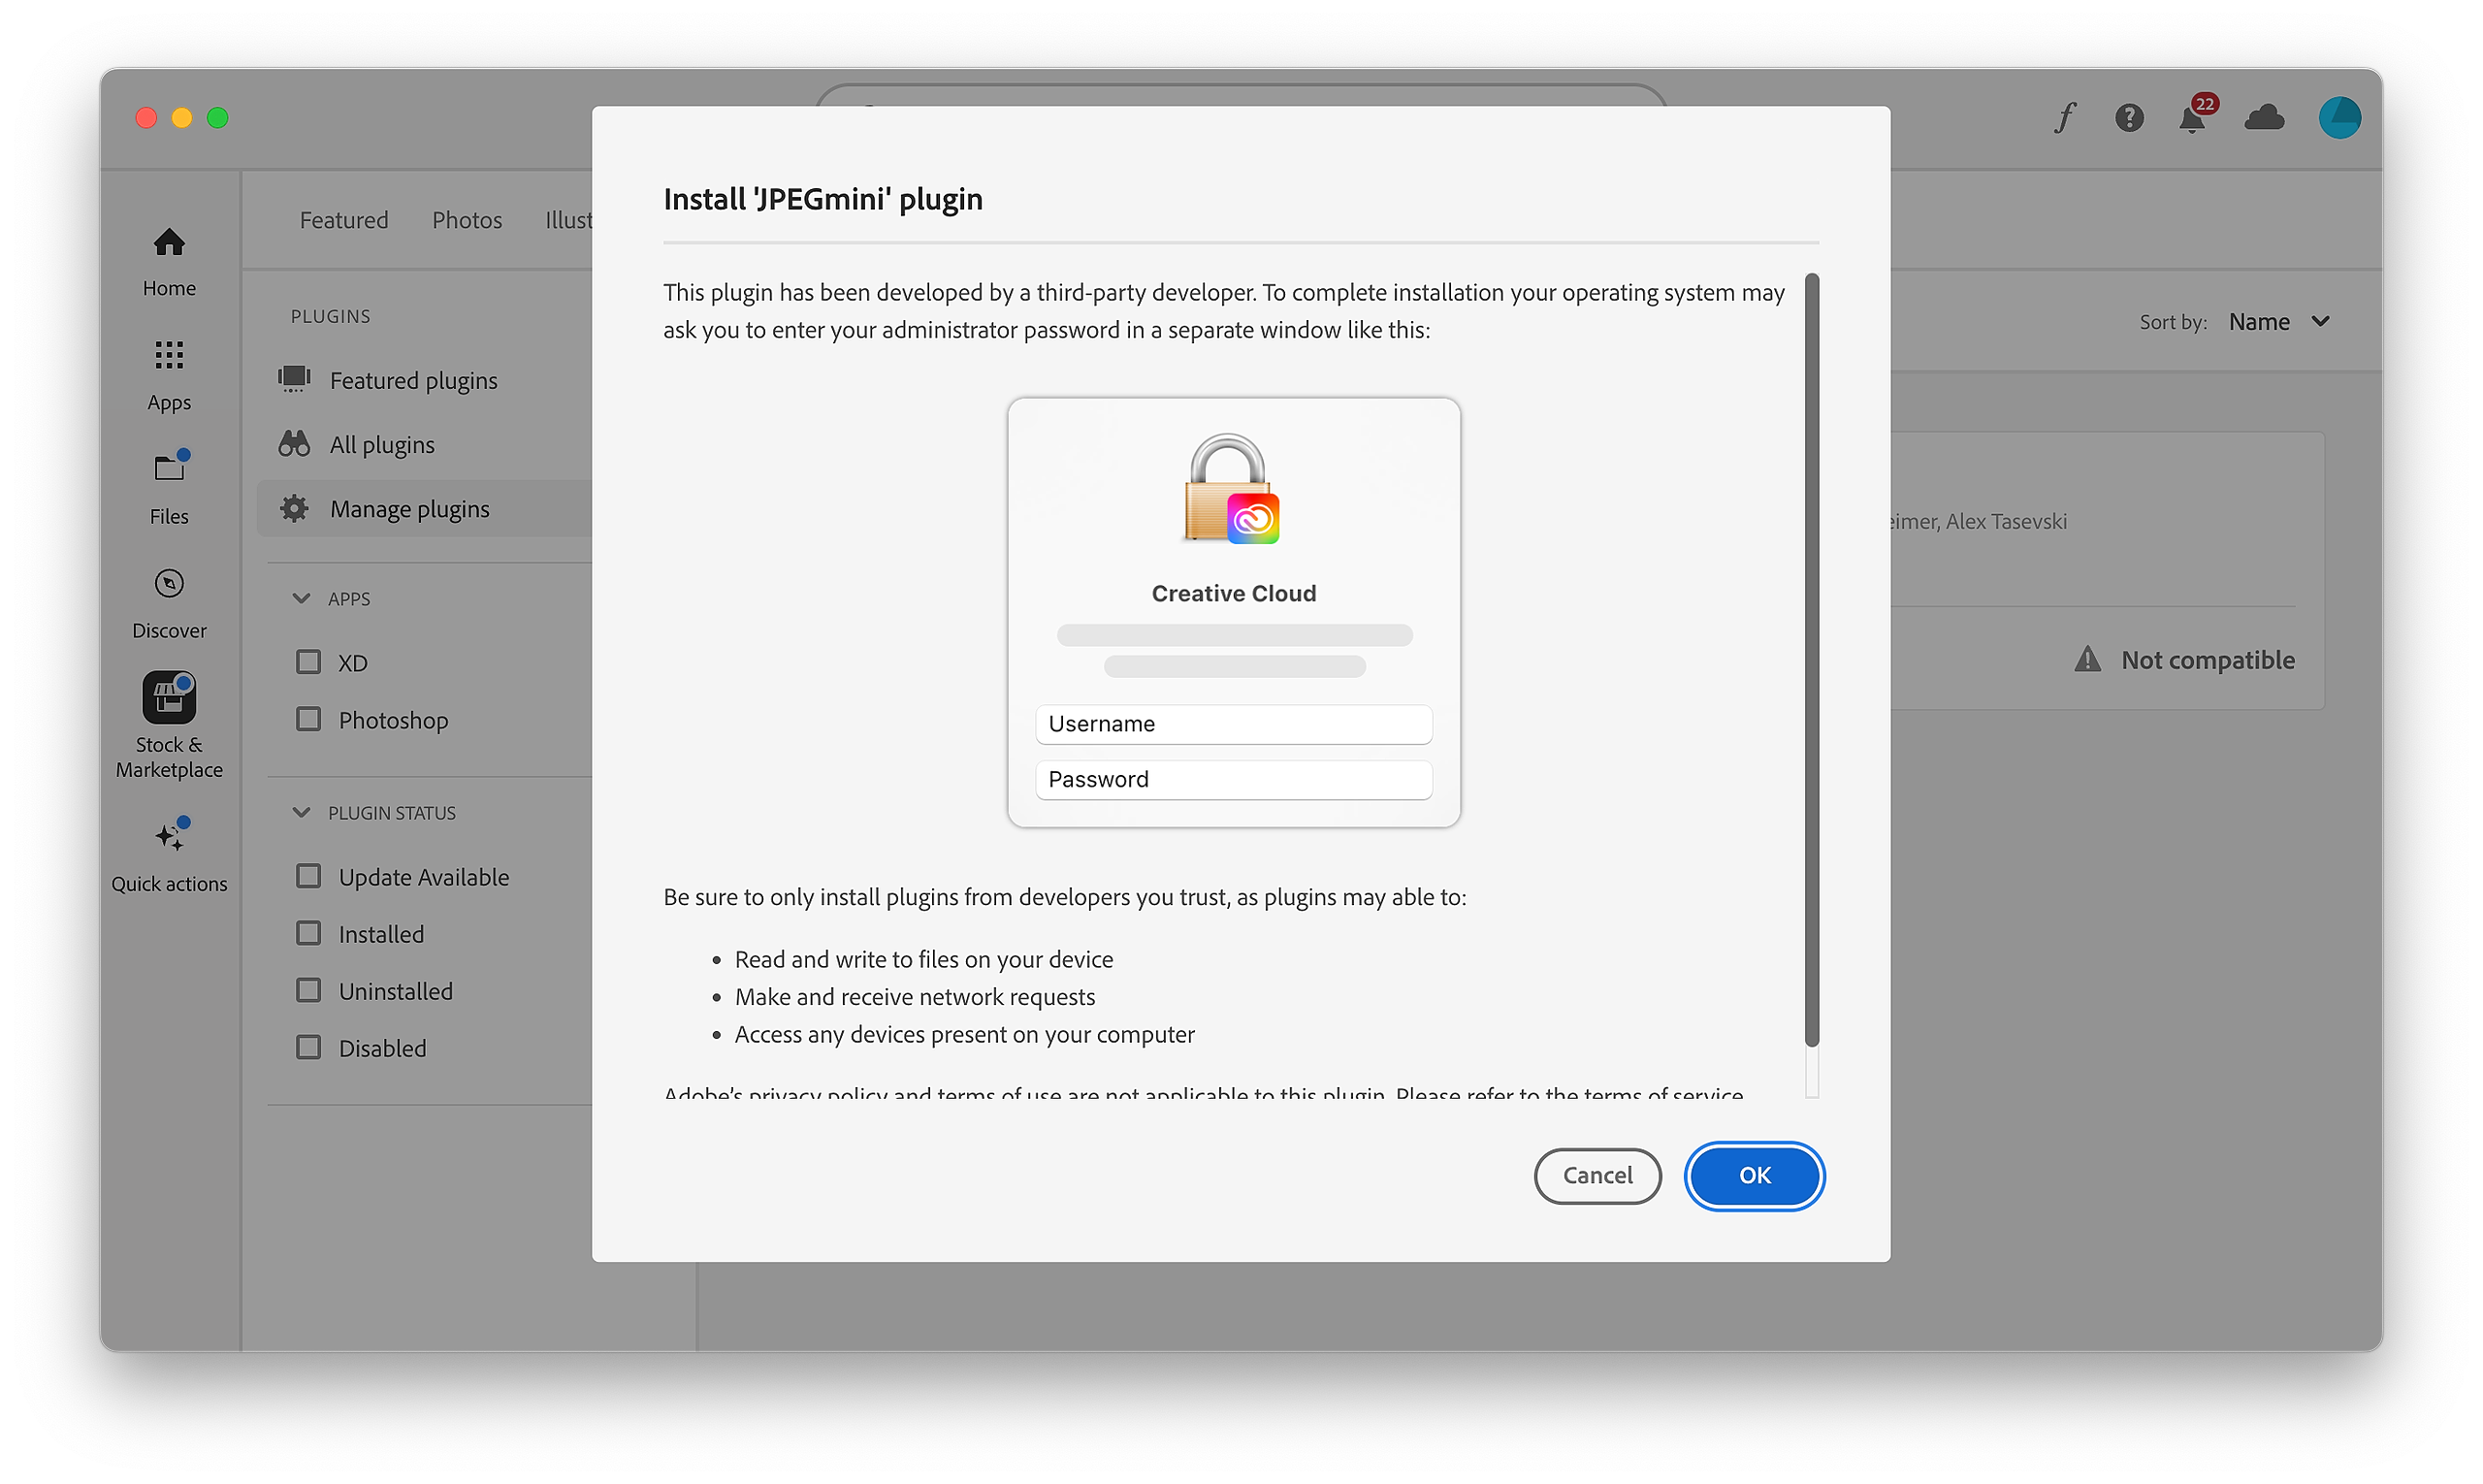
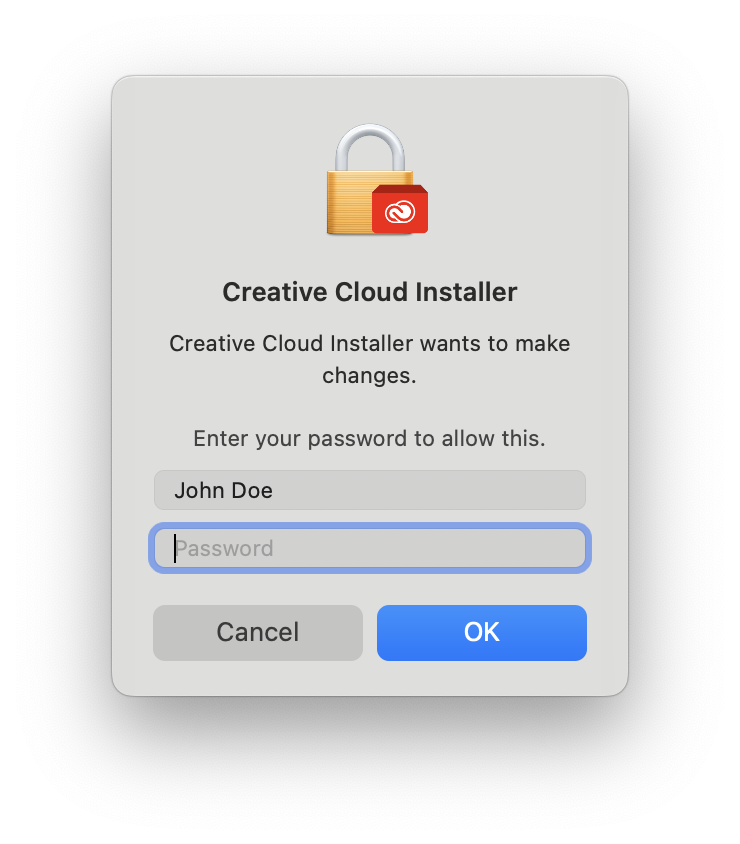
5. Grant the necessary permissions when requested by the installation wizard.
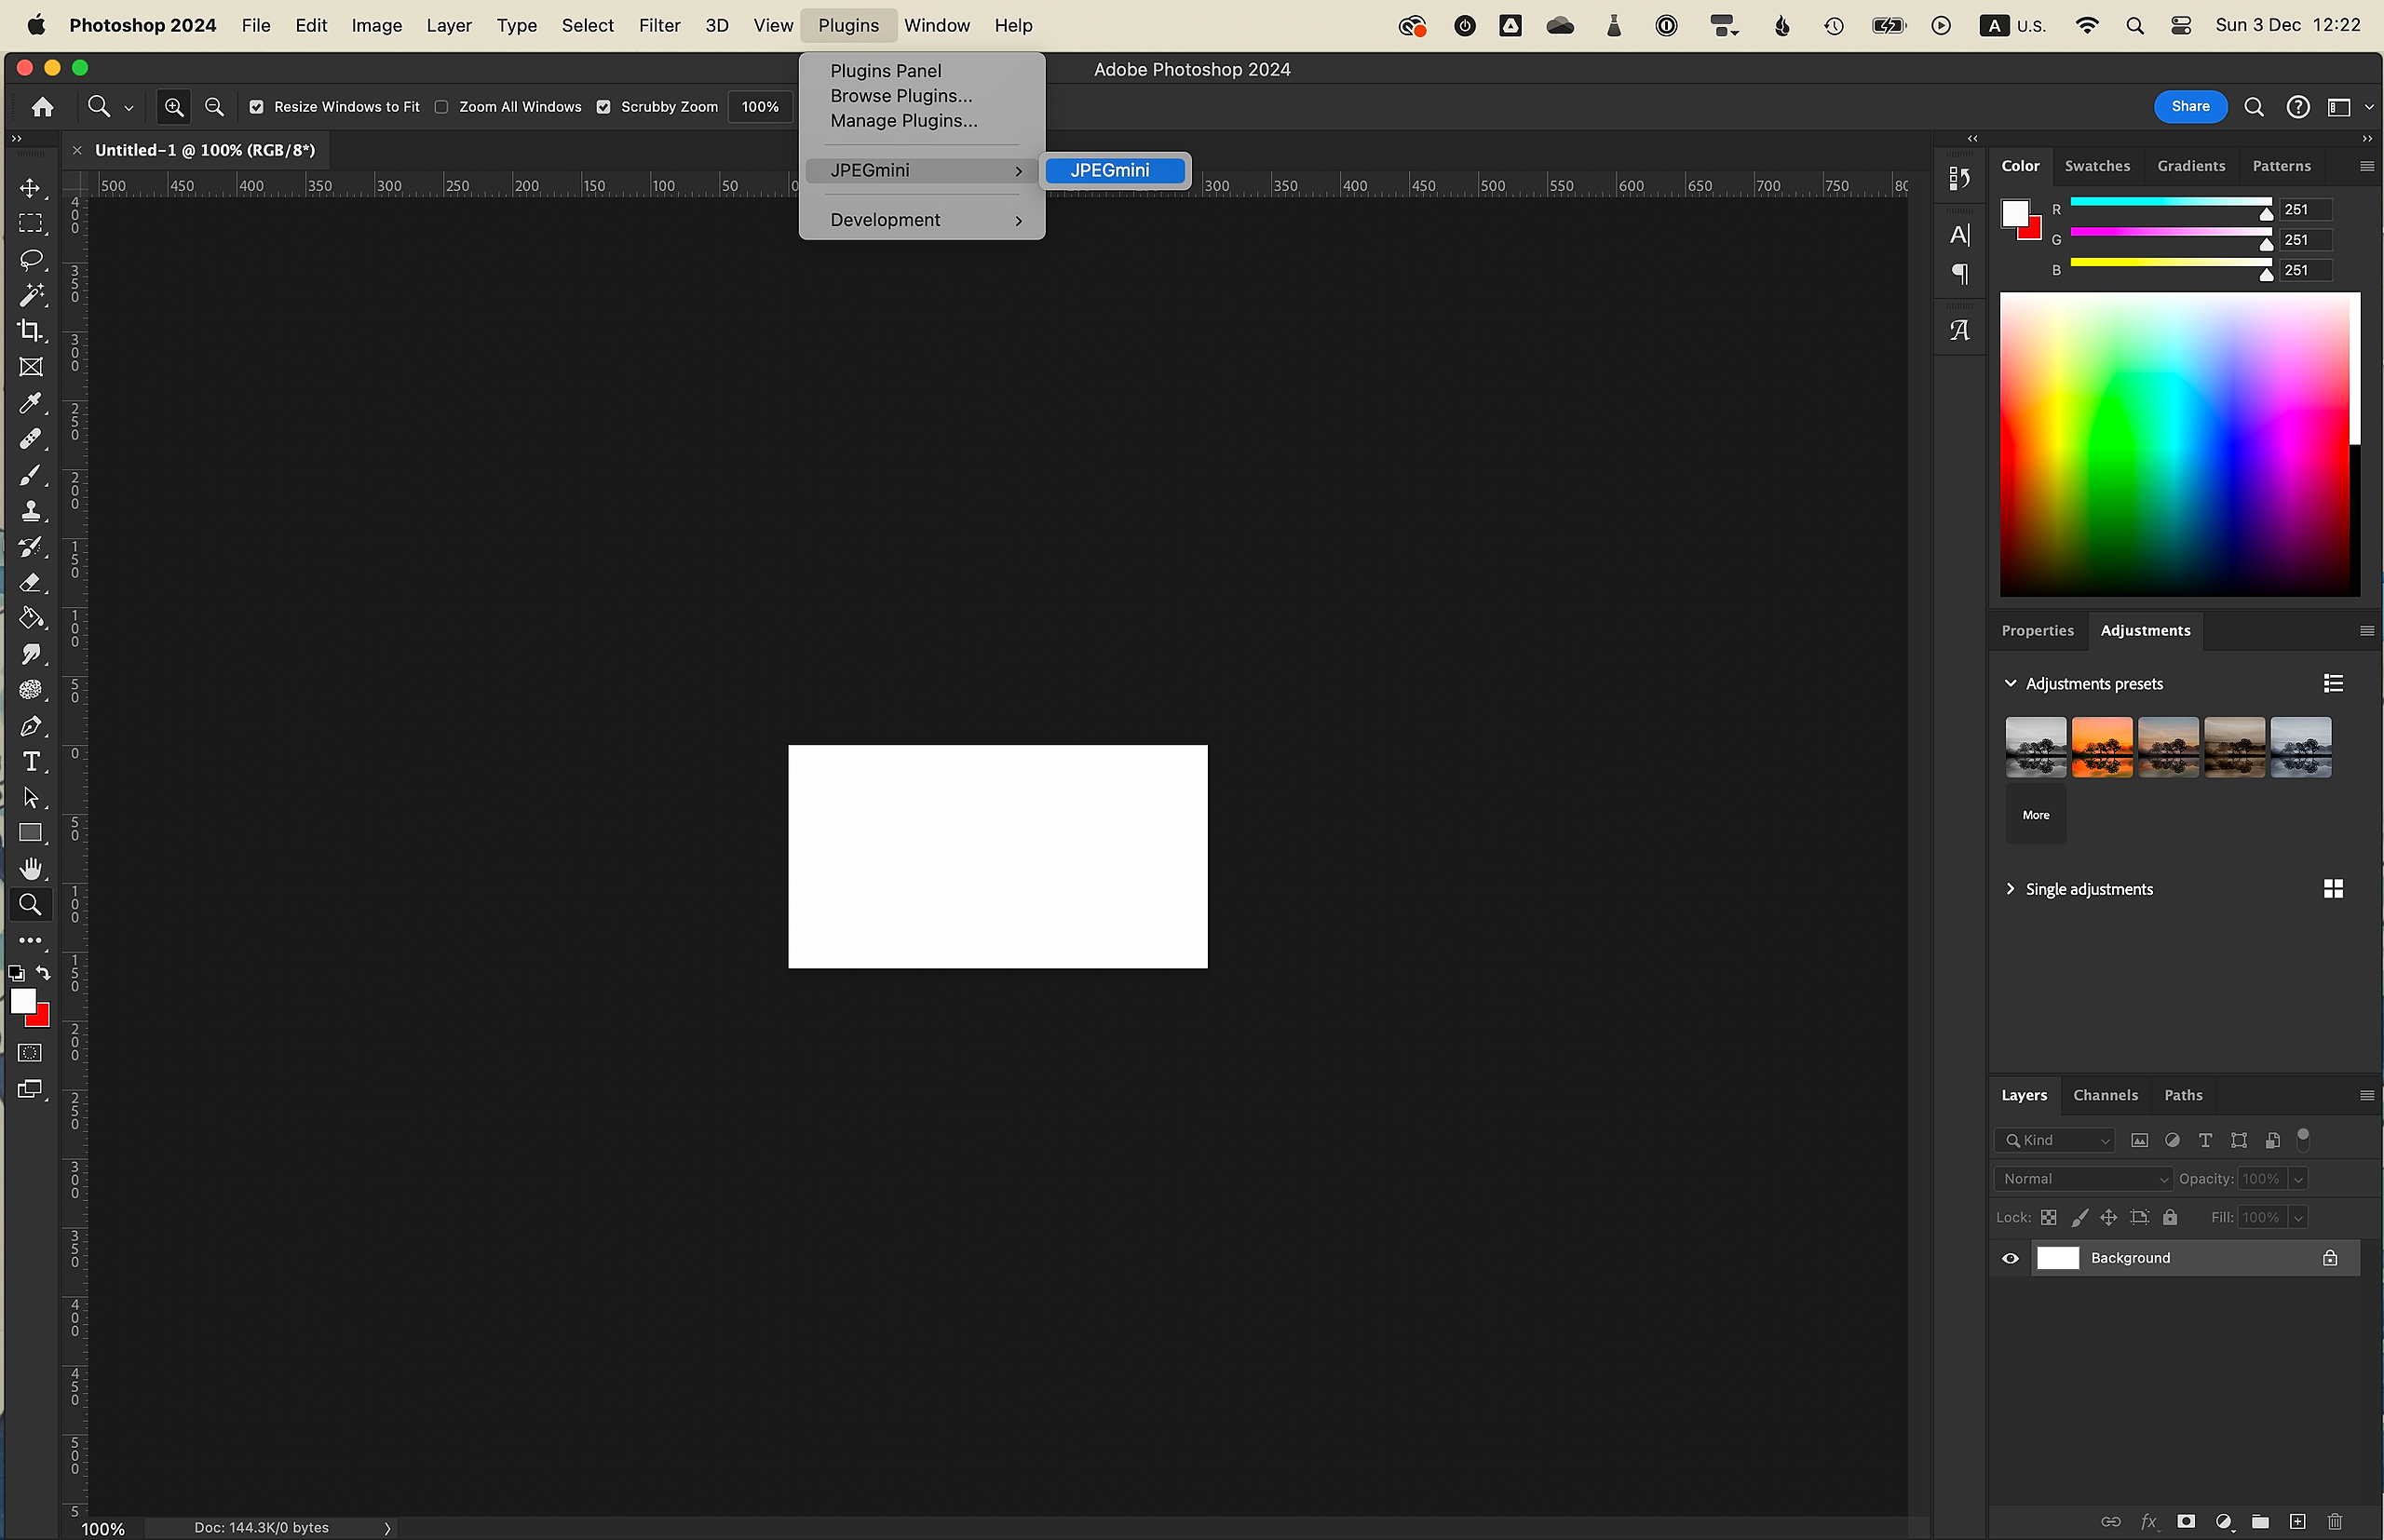
6. Once installed, launch Adobe Photoshop.
7. Navigate to the Plugins menu, select JPEGmini, and then choose JPEGmini again to open the plugin window.
7. In the plugin window, enter your activation code in the designated field.
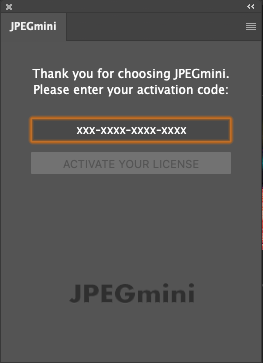
8. Click "ACTIVATE YOUR LICENSE" to complete the activation process.
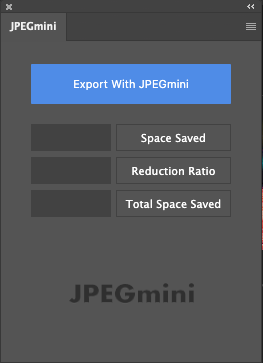
9. After activation, the JPEGmini extension is ready for use in Photoshop.