Capture One Plugin Installation
To install the JPEGmini plug-in into Capture One, perform the following steps:
If you don't have the plug-in already installed, please proceed to step 5.
1. Open Capture One and select Edit > Preferences > Plugins
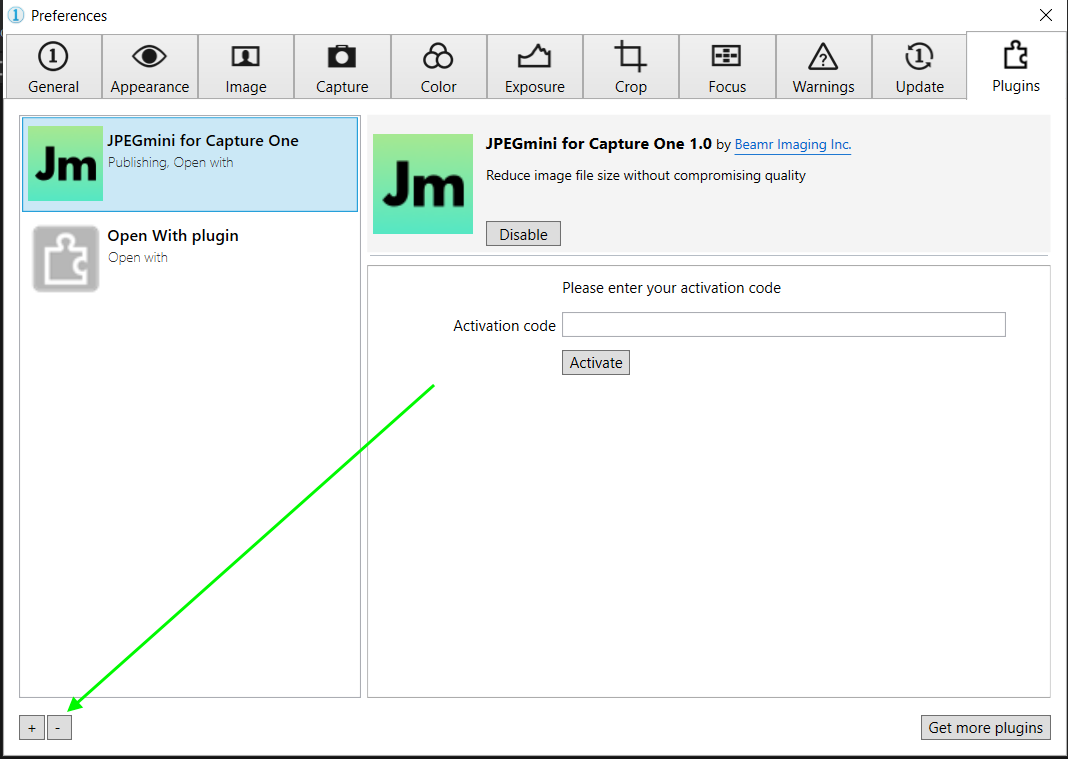
2. Select JPEGmini plugin and click the "-" button below the plug-in list
3. Close Preferences window.
4. Continue to the installation section below.
To install the JPEGmini plug-in into Capture One, perform the following steps:
5. Double click the installation file and perform the installation process.
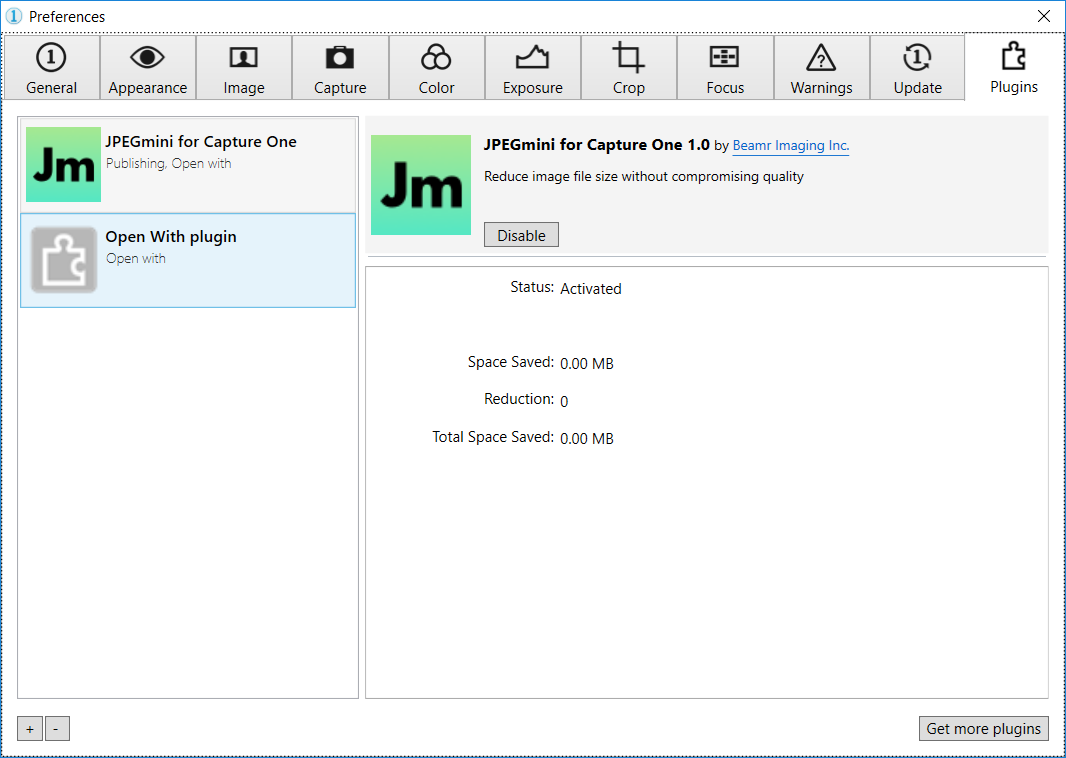
6. Open Capture One and select Edit > Preferences > Plugins
7. Click the "+" button below the plug-in list
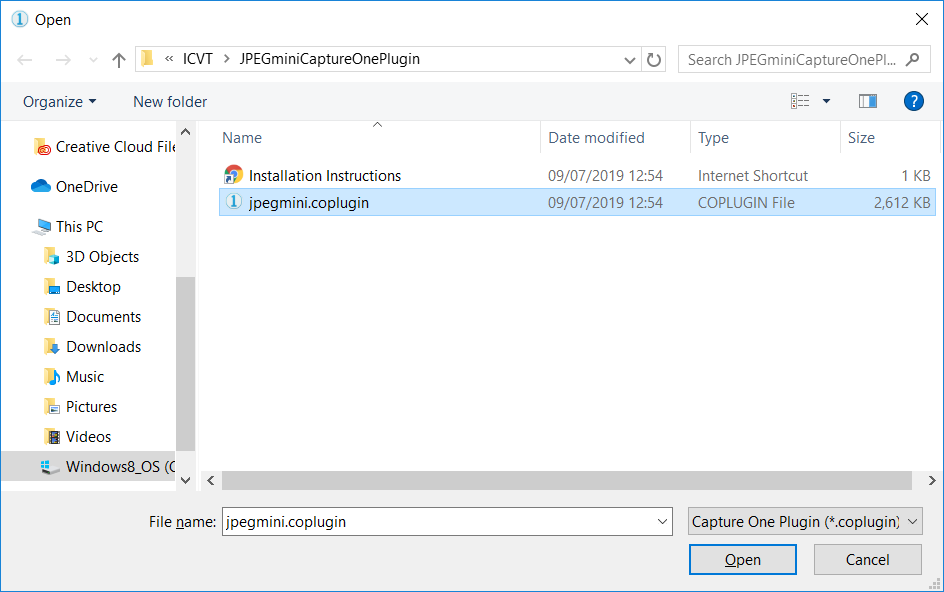
8. Locate the jpegmini.coplugin on your hard drive, and click "Open"

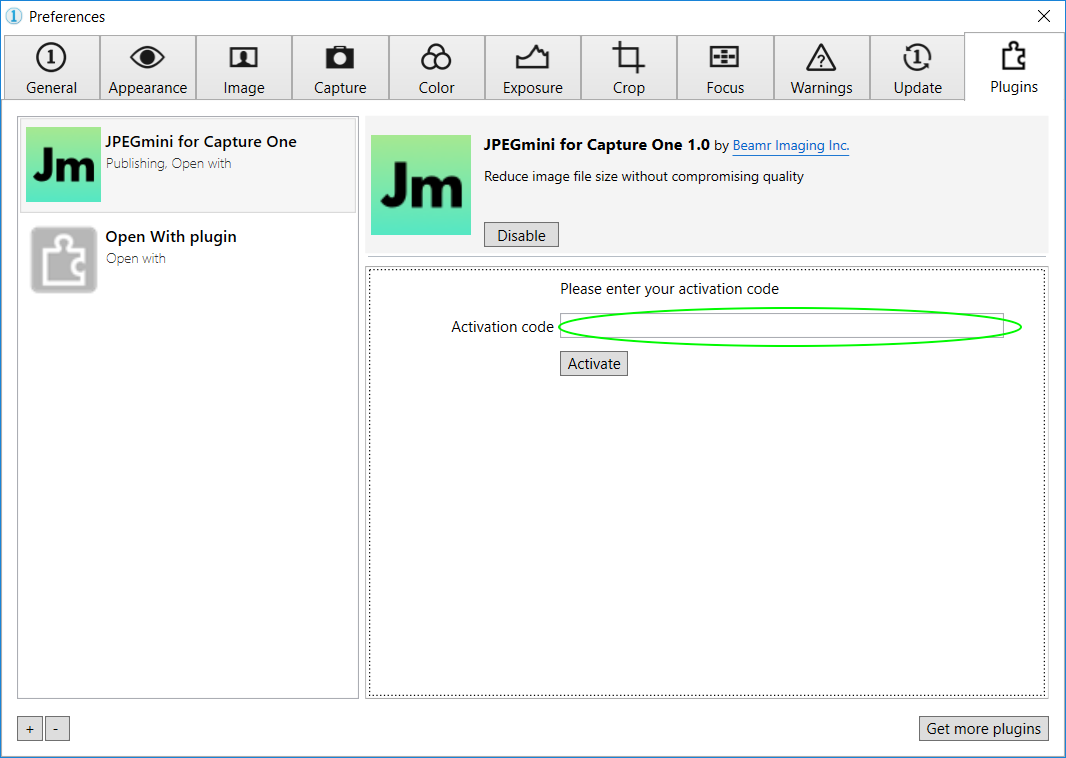
To activate the license for your JPEGmini plug-in, perform the following steps:
1. Enter your activation code in the field at the top of the Plug-in manager window
2. Click "Activate"
3. After a short wait the plug-in will be activated and the label will change to "Activated"
Usage
The JPEGmini Capture One plug-in is implemented as an Open With and Publish plug-in,
before saving them to disk. To use the plug-in, perform the following steps:
OpenWith:
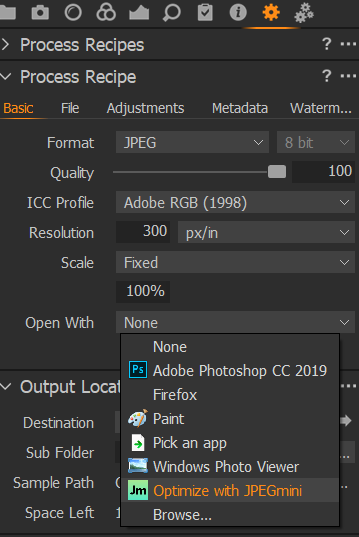
1. Open the Export Window by choosing File > Export Images > Variants.
2. Select "Optimize with JPEGmini" in Open With section.
3. Set the file format to JPEG by choosing JPEG in the "Format" pop-up menu and set "Quality" to your desired JPEG quality (100 is recommended for maximum quality).
4. Make other settings such as export location, file naming etc. as desired.
5. Click the "Export" button.
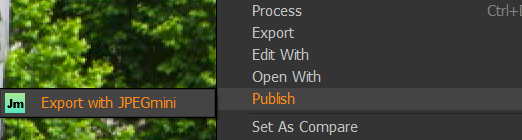
Publish:
1. Select Image > Publish > Export With JPEGmini
2. Set the file format to JPEG by choosing JPEG in the Basic > "Format" pop-up menu and set "Quality" to your desired JPEG quality (100 is recommended for maximum quality).
3. Make other settings such as export location, file naming, etc. as desired.
4. Click the "Publish" button.